Door Mats
Creating a custom doormat
Meaghan Mallon
1/3/20263 min read
This post may contain affiliate links. As an Amazon Associate, I earn from qualifying purchases at no extra cost to you.
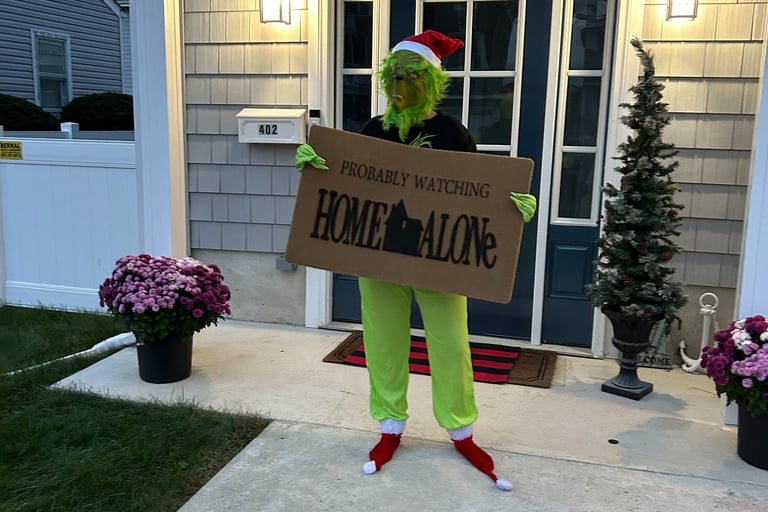
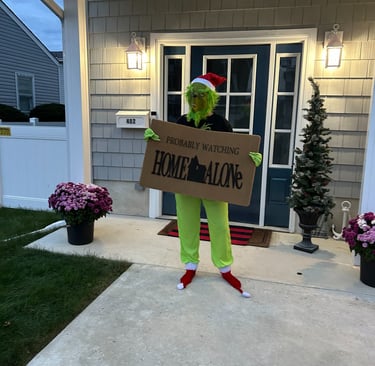
One of the first things people see upon entering your home is the front door and the surrounding decor. While we don't make everyday door mats, we do love a good holiday vibe. Each year one of our most popular holiday items are our Christmas themed Home Alone and Hallmark door mats. If you're a DIY kind of person, making a door mat at home is something you can also do!
First- you'll need a few supplies.
Coir doormat- for a beginner, the best advice we can give is to start small, but the ideal size is 17 x 30. This two pack of mats is just $19.99 https://amzn.to/4sndIhV
Cricut/silhouette machine (I have a cricut air explore). Any cutting machine will work. The newer cricut model bundle is on sale for $199 https://amzn.to/495TXE3
Glad press and seal $4.49 https://amzn.to/4poNiJV
Cricut vinyl (any color will do, I typically use with since we're spraying black paint) $19.99 for the large roll https://amzn.to/4plTylu
Flex Seal Spray (black- but you can do whatever color your heart desires) $14.87 https://amzn.to/4pqVWYv
Frog tape $14.19 https://amzn.to/3LcV7o2
These prices are subject to change.
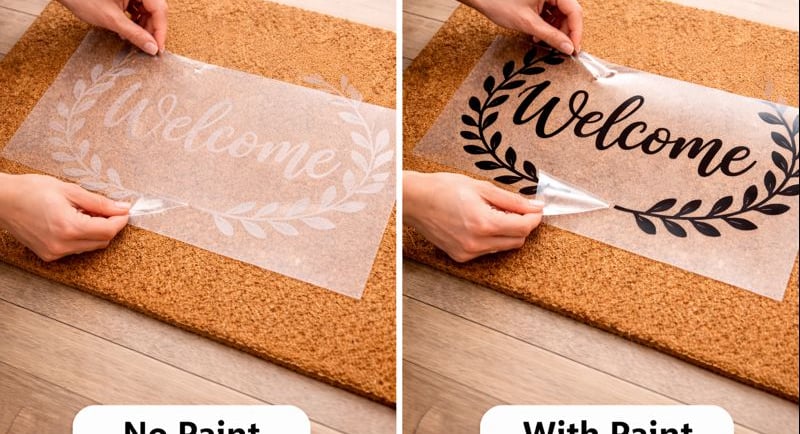
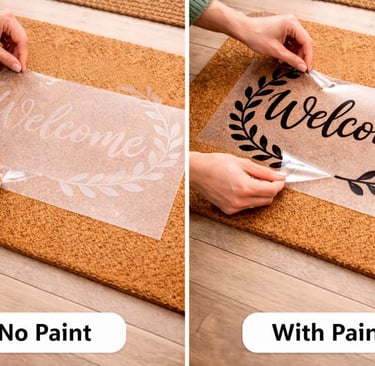
First, find a dry space to work. I typically work outside or in my garage. I lay out an old blanket or drop cloth and set my blank doormat down. After printing and cutting the design of my choosing on the Cricut, I weed out the vinyl and lay it out on the doormat. If you're using Cricut (I'll give another option later for those that don't have a Cricut or similar cutting machine), you'll use the glad press and seal instead of your typical transfer tape. Use a squeegee or even a credit card will work to transfer the vinyl onto the glad press and seal paper.
Second, lay the stencil (sticky side down, glad press and seal still on top) down onto the mat to the in the location of your choosing. Gently lift up the sides of the glad press and seal, and use the frog tape to lock the stencil into place on all four edges. Then gently pull the glad press and seal off the stencil until the entire stencil is revealed.
Should you not want to use a Cricut, you could buy a stencil of your choosing, like these from amazon: https://amzn.to/49mBkur and complete the same process as above without the glad press and seal.
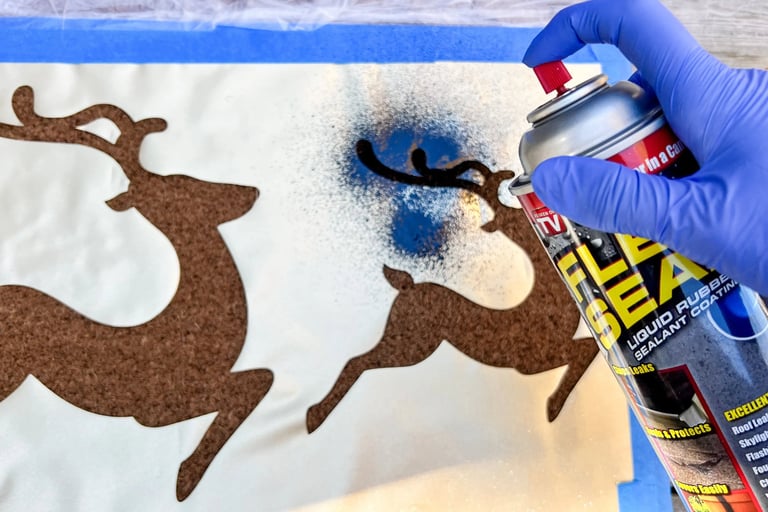
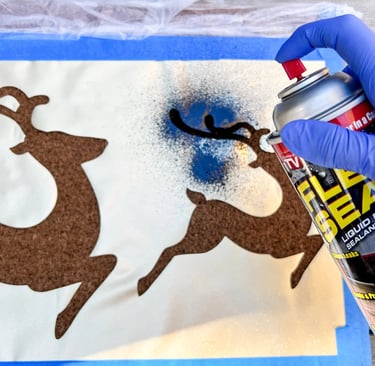
Next, you'll want to put on some sort of protective eyewear and gloves (rubber gloves or kitchen gloves are fine) and grab your flex seal spray. I typically use black but there are a variety of colors available. Spray gently and ensure you get all open areas. You want to spray evenly and not too heavily- avoid overspray. Once you've finished spraying gently peel the stencil up, careful not to smudge any areas of the design, and discard of the stencil.
Last, wait about 24 hours for a full dry and you're ready to use! Flex seal spray is much more durable then your typical spray paint but remember that nothing that's put outside is completely weather resistant. The design is likely to fade over time. Ours typically last 1-2 years in extreme weather, and longer if used on a covered porch.